Login or create an account
CloseReturning Customer
I am a returning customer
Login or create an account
CloseRegister Account
If you already have an account with us, please login at the login form.
Your Account Has Been Created!
Thank you for registering with M/s. Arham Scientific Co.!
You will be notified by e-mail once your account has been activated by the store owner.
If you have ANY questions about the operation of this online shop, please contact the store owner.
Account Logout
You have been logged off your account. It is now safe to leave the computer.
Your shopping cart has been saved, the items inside it will be restored whenever you log back into your account.
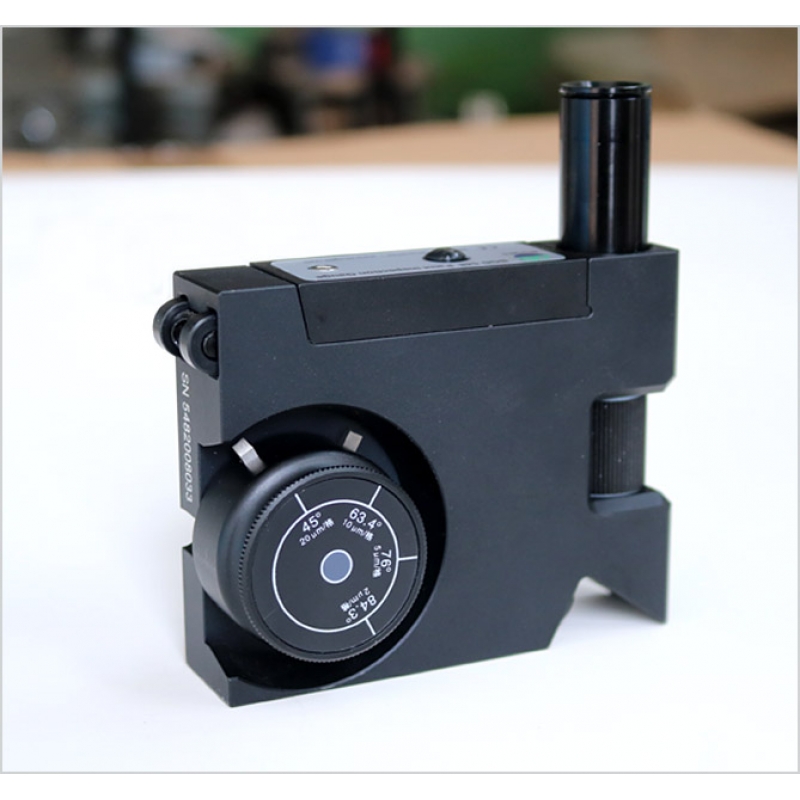
Paint Inspection Gauge (PIG)
- Brands Biuged Instruments
- Product Code: BGD548
BGD 548 is a paint inspection gauge that is suitable for use wherever conventional electro-magnetic measuring techniques are ineffective, namely for coatings on wood, concrete, plastics, and other non-metallic substrates. Testing with the BGD 548 is based on the standardized wedge cut procedure: The coating is cut through at a defined angle in such a way that the cut penetrates the substrate. The ..
■ Measuring Range (standard):2μm~2,800μm
■ Power Supply: 1 pc 1.5V battery
■ Overall Size:110mm×85mm×25mm
■ Weight: 0.5 KG
■ Ordering Information:
BGD 548---Paint Inspection Gauge
BGD 548/1P---No.1 Cutter(20-2,800μm)
BGD 548/2P---No.2 Cutter(10-1,400μm)
BGD 548/3P---No.3 Cutter(5-700μm)
BGD 548/4P---No.4 Cutter(2-2,80μm)
BGD 548 is a paint inspection gauge that is suitable for use wherever conventional electro-magnetic measuring techniques are ineffective, namely for coatings on wood, concrete, plastics, and other non-metallic substrates. Testing with the BGD 548 is based on the standardized wedge cut procedure: The coating is cut through at a defined angle in such a way that the cut penetrates the substrate. The layer thickness (s) is calculated on the basis of the slope projection (b) of the cut face, determined using a measuring microscope, and the cutting angle (α), Similarly, the individual layer thickness of multilayer systems can be ascertained.
The BGD 548 consists of a black-painted aluminium block that accommodates the following functional elements:
# Exchangeable carbide tip with a precision-ground angular cutting blade (come with 4 cutters)
No.1 Cutter: Measuring range: 20-2,800μm(Factor: 20 μm)
No.2 Cutter: Measuring range: 10-1,400μm(Factor: 10 μm)
No.3 Cutter: Measuring range: 5-700μm(Factor: 5 μm)
No.4 Cutter: Measuring range: 2-2,80μm(Factor: 2μm)
# Measuring microscope with a magnification of 30 and a reticle(2.8mm with 1/140 division), which is also suitable for inspection tasks.
# Two-wheel design makes Panel Scratching more stable and uniform.
# Battery compartment for 1.5 V battery block.
# Combination of LED and fiber-optic light guide for optimum specimen illumination at low current consumption.
# It complies with ISO 2808-6B, ASTM D 4138, AS 1580 Meth 408.1

